What Are Aluminum Solar Rails Used For?
Aluminum Solar Rails form the structural backbone of many rooftop photovoltaic systems. They connect roof attachments to the clamps that hold solar panels in place. In practical terms, rails help keep panels aligned, spaced, and supported under changing weather conditions. They also transfer loads from the modules to the roof structure. A rail is not just a strip of metal.
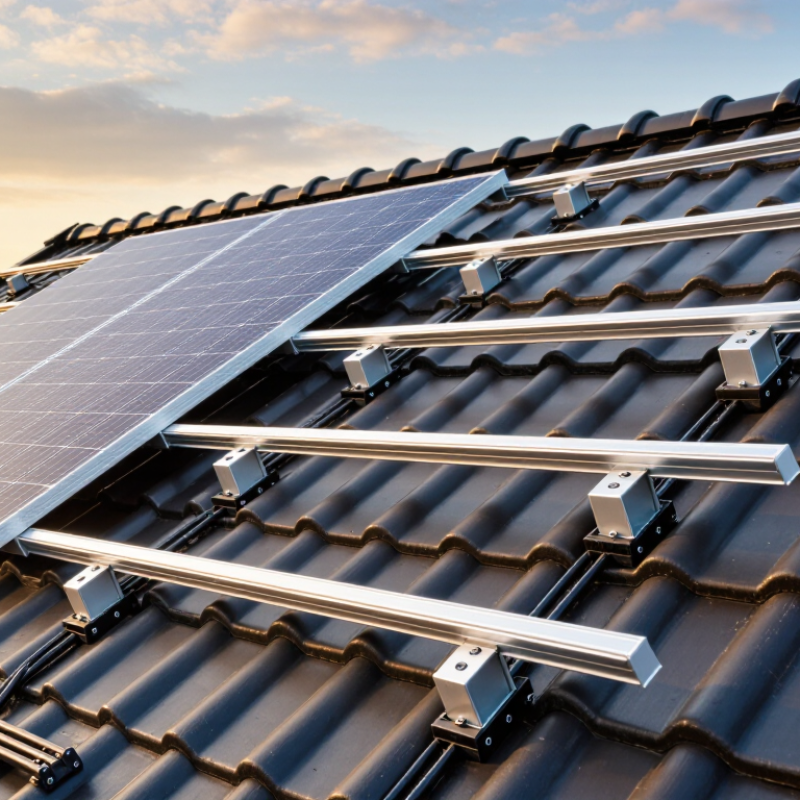
Installers select rail profiles and attachment points to suit the panel layout, roof type, and expected loads. On a sloped roof, rails often run across the roof beneath the modules. Their positions affect panel spacing, cable routing, and access for maintenance. A well-planned layout can make installation cleaner. A poor fit can create awkward gaps or extra work. That detail is easy to overlook.
Aluminum is commonly used because it is relatively lightweight, workable, and resistant to corrosion in many outdoor settings. Still, performance depends on the full mounting system, including fasteners, clamps, roof attachments, and compatible materials. Rail dimensions and allowable spans vary, so installers should follow the manufacturer’s guidance and assess site conditions rather than rely on appearance alone. Even a sturdy-looking rail may be unsuitable for a particular roof or panel arrangement. That deserves a second look. Understanding what these rails do helps homeowners compare mounting proposals and ask more useful questions before installation begins.
What Aluminum Solar Rails Are and Where They Fit in a Solar Array
Aluminum solar rails are rigid profiles that support photovoltaic modules within a rooftop array. They sit between roof attachments and module clamps, creating the mounting paths that hold panels in position. On a pitched roof, installers typically fasten brackets into structural framing, then secure rails across them. Panels rest above the roof. Channels in the rails accept clamps and other hardware, allowing crews to set module spacing and keep rows aligned. That gap matters: a crooked rail can make a neat panel layout harder to achieve.
Rails also transfer forces from the modules to the roof attachments. Their performance depends on the rail profile, attachment spacing, roof structure, and local wind or snow conditions; one rail layout does not suit every roof. Installers check that connections are tight, rail ends and splices are supported as specified, and modules sit evenly in the clamps. Small alignment errors show. Rails may also provide a path for electrical bonding, but that depends on compatible hardware and the system design. A rail is only one part of the mounting system, not a substitute for sound roof attachments or careful installation.
What Are Aluminum Solar Rails Used For?
Aluminum solar rails support and align panels in a solar array. In this illustrative four-panel row, two rails run beneath the panels, clamps secure the panels to the rails, and roof attachments connect the rails to the roof structure. Actual layouts vary by panel and roof design.
How Rails Connect with Clamps and Other Mounting Components
Aluminum solar rails provide a straight, stable path for attaching panels to a roof or ground-mount frame. Their channels accept compatible clamps and fasteners, allowing installers to position modules without drilling through the panel frames. Small parts matter. A mid-clamp sits between two neighboring modules and grips both frame edges. An end-clamp secures the outer edge of a panel row. Tightening these clamps to the specified torque helps hold the modules while reducing the risk of frame damage.
Rails connect to the structure through mounting brackets or feet, which attach to suitable roof supports or other approved mounting points. The rail then spans between these points, creating a level surface for the panels. Alignment matters: a rail that twists or sits unevenly can make clamp placement difficult.
I would double-check compatibility before assembly, since clamp dimensions and rail channels are not always interchangeable. That detail is easy to miss.
Some systems also use bonding hardware to create electrical continuity between components, when the design requires it. Follow the system instructions for those parts, as ordinary clamps may not provide the intended connection. Leave room for thermal movement where specified, and check fasteners after positioning the array. The awkward part is that a rail can look straight from one angle while still being slightly out of line. A careful measurement saves rework.