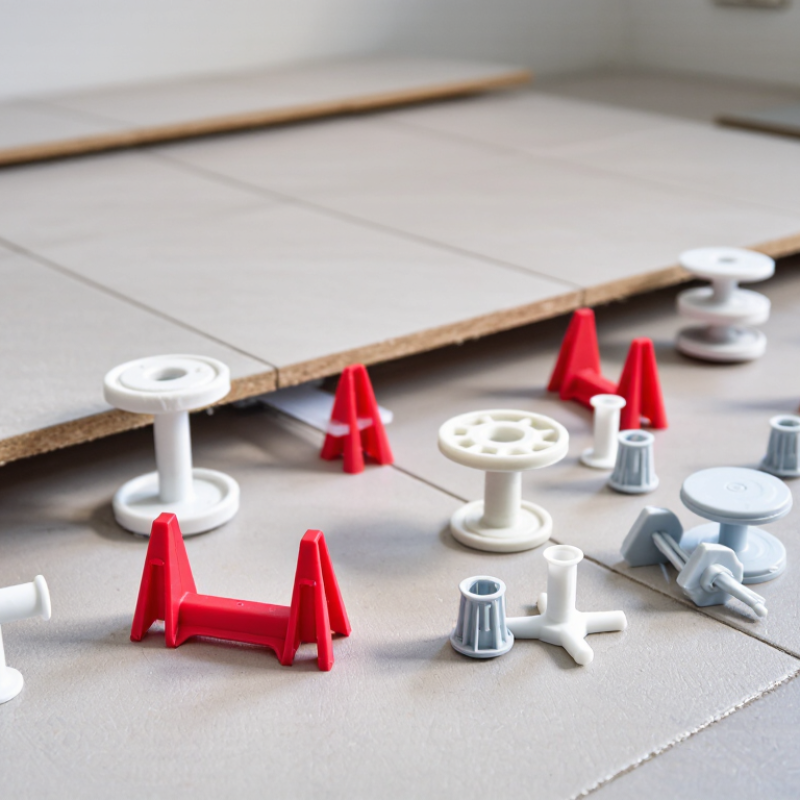
| Wedge System | 2.0 mm | Approx. 6–12 mm | Small to medium wall and floor tiles; regular rectangular layouts | A tapered wedge is pushed through a disposable clip to apply downward pressure and align adjoining tile edges. | Wedge | Strike the disposable clip parallel to the grout joint after the adhesive has cured. | Economical installations with straight joints and frequent clip placement. |
| Wedge System | 2.5 mm | Approx. 6–12 mm | Medium-format floor tiles and standard ceramic or porcelain panels | Manual wedge pressure reduces lippage while the base of the clip establishes the nominal joint. | Wedge | Remove by a controlled sideways tap along the joint direction. | A balanced choice where joint width and installation speed are both important. |
| Wedge System | 3.0 mm | Approx. 6–12 mm | Floor tile layouts requiring a more visible grout joint | Wedge compression stabilizes tile edges while the wider clip base maintains the joint gap. | Wedge | Break the clip at the designed separation point after adhesive setting. | General residential and light commercial floors with conventional grout spacing. |
| Twist-Cap System | 2.0 mm | Approx. 3–12 mm | Large-format porcelain and wall tiles with relatively consistent thickness | A threaded cap is tightened by hand to apply controlled pressure across the tile surface. | Twist Cap | Unscrew the cap, then strike the disposable base sideways after curing. | Installations needing quick, repeatable tension without a separate wedge tool. |
| Twist-Cap System | 2.5 mm | Approx. 3–12 mm | Large-format floor tiles, rectified porcelain, and modular layouts | Threaded adjustment allows gradual pressure changes and helps compensate for minor tile-thickness variation. | Twist Cap | Remove the cap first; snap the base laterally rather than lifting it vertically. | Projects where consistent tension and convenient adjustment are priorities. |
| Twist-Cap System | 3.0 mm | Approx. 3–12 mm | Medium to large floor tiles using a standard 3 mm grout joint | Hand-tightened cap pressure holds adjacent edges in plane while the base maintains the joint width. | Twist Cap | Release the cap and break the base in the direction of the joint. | Open-joint layouts where installers want fast adjustment and reusable caps. |
| Clip-and-Cap System | 2.0 mm | Approx. 3–20 mm | Thin tiles, wall tiles, and small-to-medium format installations | A disposable clip sets the joint while a locking cap applies pressure to reduce edge height differences. | Locking Cap | Remove or loosen the cap if reusable, then break the clip sideways after curing. | Precise wall work and installations where a compact locking head is useful. |
| Clip-and-Cap System | 2.5 mm | Approx. 3–20 mm | Rectified ceramic or porcelain tiles in mixed wall and floor projects | The cap locks onto the clip and provides steady downward force without requiring a separate wedge. | Locking Cap | Unlock the head where applicable, then tap the clip parallel to the grout line. | Versatile installations requiring consistent joints across different tile areas. |
| Clip-and-Cap System | 3.0 mm | Approx. 3–20 mm | Large floor tiles and layouts with a clearly defined grout joint | Clip geometry fixes the joint width while the cap helps hold adjoining tile surfaces flush. | Locking Cap | Release the locking head and break the clip sideways after the adhesive has set. | Broad-format flooring where joint consistency and straightforward removal matter. |