| Vehicle identification | Model year, make, model, body style, engine, and drivetrain | Use the vehicle identification number (VIN) or the vehicle registration details when checking a parts catalog. | Vehicles that look alike can use different suspension parts depending on production date, trim, or drivetrain. |
| Suspension position | Front or rear; upper or lower; left or right | Check the vehicle’s service information and the part description. Do not assume the two sides or upper and lower joints are interchangeable. | Joint shape, mounting points, and load requirements can differ by location. |
| Suspension design | The vehicle’s suspension type and control-arm arrangement | Confirm the suspension layout in the service manual or a reliable vehicle-specific parts catalog. | Different suspension designs require different joint shapes and mounting arrangements. |
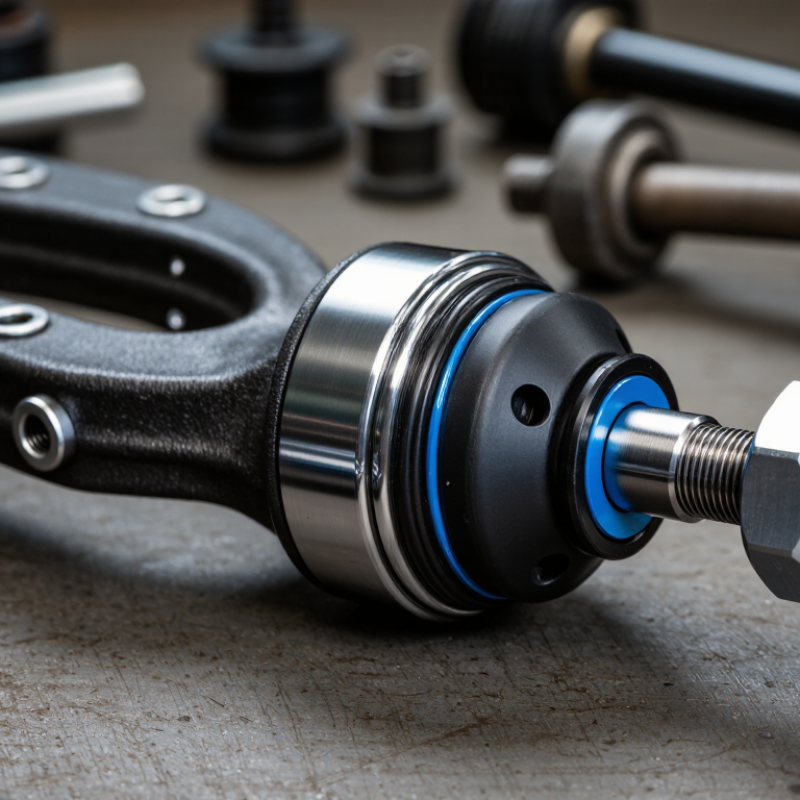
| Attachment method | Press-in, bolted, riveted, or integrated into the control arm | Inspect the existing assembly or consult the service procedure. Check whether the joint is serviced separately or supplied as part of the arm. | An incompatible attachment method may prevent installation or require a different replacement assembly. |
| Mounting dimensions | Stud taper, stud diameter, thread size, mounting-hole spacing, and housing dimensions | Compare manufacturer specifications or carefully measured original-part dimensions. Do not rely on appearance alone. | The tapered stud must seat correctly in its mating component, and the mounting points must align without modification. |
| Production-date differences | Build date or chassis break point, if applicable | Check the door-jamb label or VIN-based catalog notes for a specified production-date range. | A mid-year design change can result in different parts for the same model year. |
| Load and duty specification | Correct application for the vehicle’s suspension position and intended use | Match the replacement to the vehicle-specific specification and any documented suspension modifications. | Ball joints carry suspension loads and must be suitable for the vehicle’s design and operating conditions. |
| Included hardware | Required nuts, bolts, cotter pins, seals, and grease fittings, where applicable | Review the parts listing and installation instructions; compare included hardware with the service procedure. | Correct hardware and retention methods are essential for secure assembly. Reuse only parts permitted by the service instructions. |
| Final verification | Exact catalog application and installation requirements | Confirm fitment by VIN or vehicle details before purchase. Follow the service manual for torque specifications and any required alignment checks. | Correct fitment supports safe installation; suspension work may require a wheel alignment afterward. |