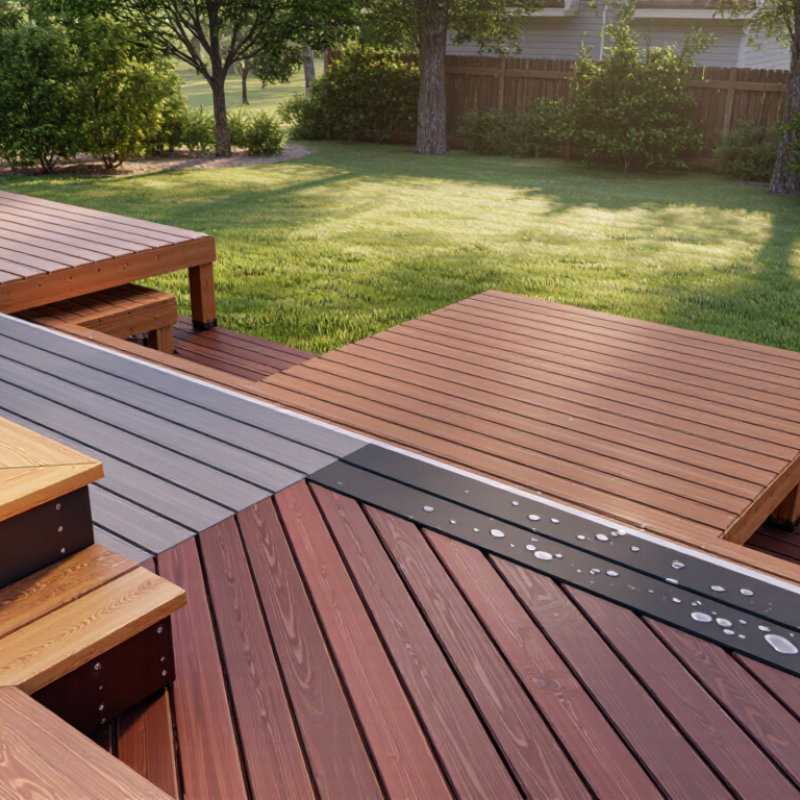
| 1. Measure the framing first | Common nominal 5/4 × 6 decking measures about 1 × 5½ inches; nominal 2 × 6 lumber measures about 1½ × 5½ inches. | Compare actual board thickness and width with the existing joist height, fascia, and stair details. | Confirm finished height and edge alignment before ordering; nominal sizes are not actual dimensions. |
| 2. Match board span to joist spacing | Decking thickness, profile, and material affect allowable support spacing. | Check the selected board’s span table; composite products can have different limits from wood boards. | Measure joists center to center. Many installations use 16 inches on center for perpendicular boards, but product instructions may require closer spacing, especially for diagonal layouts. |
| 3. Choose a profile that fits the layout | Boards are commonly available with grooved or square edges; widths and thicknesses vary by material and product. | Grooved edges require compatible hidden fasteners; square edges are typically suited to face fastening or specified edge details. | Plan the perimeter, stairs, and picture-frame borders so the required edge profile is available where needed. |
| 4. Check fastener compatibility | Fastener type and length depend on board thickness, joist material, and fastening method. | Use fasteners approved for the decking material. For pressure-treated lumber, select corrosion-resistant connectors and fasteners suitable for the treatment and exposure conditions. | Follow the board and fastener instructions for edge distance, penetration, and fastening pattern; avoid overdriving screws. |
| 5. Allow for drainage and board gaps | Board spacing varies with material, moisture content, temperature, and installation system. | Wood can shrink as it dries; many manufactured boards expand and contract with temperature changes. | Use the product’s spacing instructions and maintain drainage gaps. Do not assume one gap works for every board or climate. |
| 6. Plan butt joints and board lengths | Available lengths differ by material; longer boards can reduce the number of end joints. | Each board end at a joint needs adequate support, and some systems specify end-to-end gap requirements. | Add blocking or use a suitable double-joist arrangement where joints meet. Stagger joints where practical and follow the layout instructions. |
| 7. Account for board movement | Long boards are more affected by lengthwise movement than short pieces, especially with temperature-sensitive materials. | Expansion and contraction allowances are product-specific and may depend on installation temperature. | Check end gaps, butt-joint details, and perimeter clearance in the installation guide before cutting or fastening. |
| 8. Select a surface suited to the site | Surface texture and profile differ across wood, capped composite, and other decking materials. | Consider expected moisture, shade, foot traffic, and maintenance needs; surface performance varies by product and conditions. | Keep the deck free of debris and provide drainage and ventilation beneath it as required by the design. |
| 9. Check cutting and finishing requirements | Some boards can be field-cut; edge finishing and permitted routing vary by product. | Confirm which blades, end treatments, and edge details are allowed for the selected material. | Use suitable eye and respiratory protection when cutting. Follow the product instructions for exposed ends and finished edges. |
| 10. Verify code and structural requirements | Deck-board selection does not replace requirements for joists, beams, stairs, guards, or connections. | Local building rules and approved product instructions may set limits for spans, fastening, and use. | Check local requirements and the current installation guide. Have structural or permit questions reviewed by the appropriate building professional. |