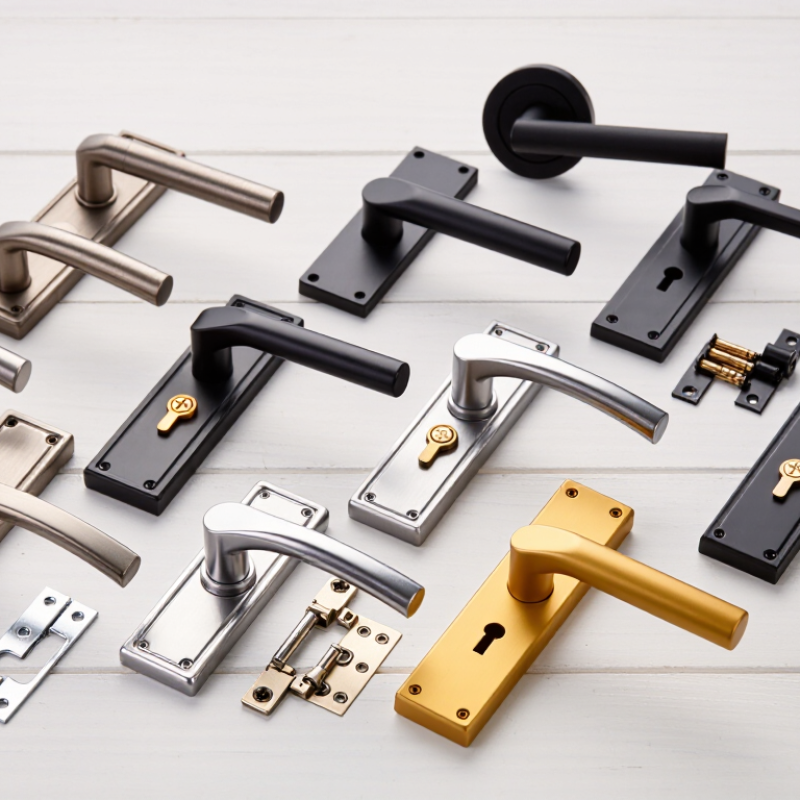
| 1 | Lever handle with latch | A lever operates a spring-loaded latch; the set may include inside and outside handles. | Measure screw-hole spacing and door thickness; compare the latch shape and direction. | Support the door, remove the interior fasteners, separate the handles, fit the latch and new handles, then test the lever. |
| 2 | Push-button handle | A button releases the latch, often alongside a lever or pull feature. | Check button placement, handle orientation, fastener spacing, and whether the button is part of the handle assembly. | Remove the old assembly, transfer any compatible latch components as directed, install the replacement, and test the button and latch. |
| 3 | Keyed handle set | Includes a keyed cylinder or lock feature on the exterior side. | Confirm the replacement includes the required lock parts and matches the existing mounting pattern and door thickness. | Remove the old set, position the replacement cylinder and handles, tighten the fasteners evenly, and check locking and latching. |
| 4 | Non-keyed handle set | Operates the latch without an exterior key cylinder. | Compare the latch type, handle orientation, mounting holes, and any included strike plate. | Take off the old handles, fit the replacement around the latch spindle, secure the set, and confirm the door opens and closes freely. |
| 5 | Surface-mounted pull handle | Attaches to the door surface and may be separate from the latching mechanism. | Check the mounting-hole spacing, handle projection, and whether the pull is intended for the door’s material and thickness. | Remove the fasteners, align the new pull with the existing holes when suitable, secure it, and check for a firm grip without interference. |
| 6 | Mortise-style handle set | Works with a latch body fitted into a pocket in the door edge. | Compare the latch-body dimensions, faceplate, spindle position, and handle mounting pattern. | Remove the handles and latch body, fit a matching latch into the existing pocket, reinstall the handles, and test the latch operation. |
| 7 | Surface-mounted latch and handle set | The latch mechanism mounts on the door surface rather than inside an edge pocket. | Check the complete assembly’s footprint, screw locations, latch projection, and strike alignment. | Remove the old assembly, position the replacement according to its instructions, fasten it securely, and verify that the latch engages the strike. |
| 8 | Reversible left- or right-hand handle | Designed to be configured for either door swing, depending on the product. | Confirm that the specific replacement is reversible and identify the door’s handing before installation. | Set the handle orientation as instructed, install the latch and handles, then check operation from both sides of the door. |
| 9 | Handle set with separate strike plate | Uses a strike plate on the frame to receive the latch bolt. | Check whether the replacement includes a strike plate and whether its position matches the existing latch. | Install the handle set, align the strike with the latch, secure the plate, and adjust alignment if the door does not latch smoothly. |
| 10 | Replacement handle kit with included fasteners | May include handles, latch parts, a strike plate, and mounting hardware. | Check the kit contents against the parts being replaced; compare measurements and follow the kit’s compatibility guidance. | Lay out the supplied parts, remove the old hardware, install each component in the instructed order, and test the full assembly. |