| Prepare the area |
Park on a level surface, secure the vehicle, put on disposable gloves, and place a suitable catch pan beneath the waste outlet. |
The outlet area is accessible, and any test water can be contained. |
Do not start if the tank may be full or the outlet cannot be safely contained. Empty the tank using the normal disposal procedure first. |
| Inspect the closed valve |
With the valve closed, check the handle, valve body, outlet fitting, and visible joints for cracks, residue, or dampness. |
No visible damage, wet spots, or fresh residue is present. |
Clean and dry the area, then inspect again. Persistent dampness may indicate a damaged valve, seal, or connection. |
| Test the valve seal |
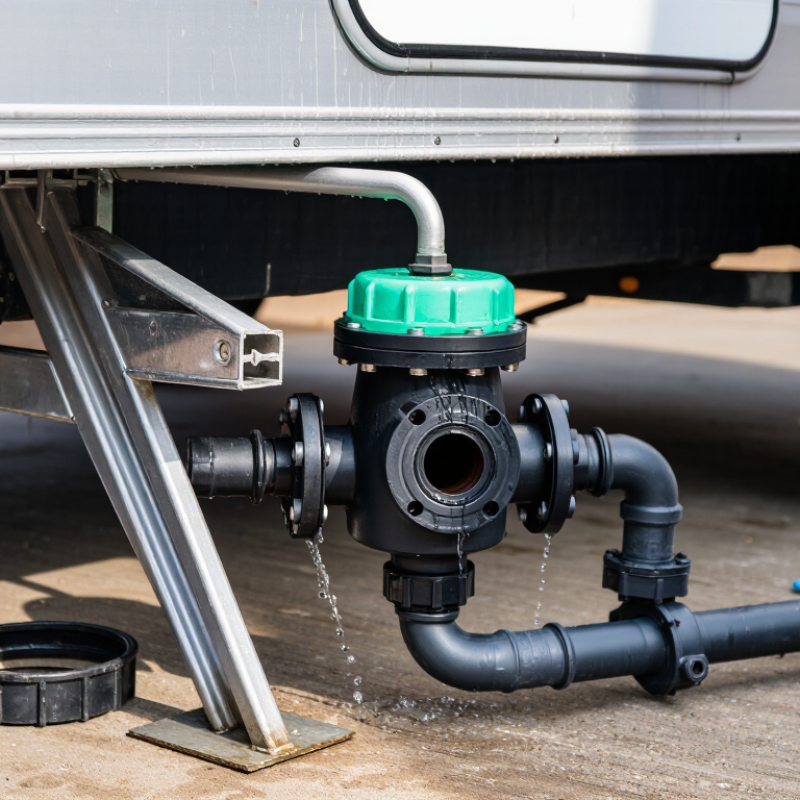
Keep the sewer hose disconnected and the valve closed. Add a small, controlled amount of clean water to the appropriate holding tank. Test one tank at a time. |
No water appears at the closed valve or outlet. |
If water seeps from the outlet, the valve may not be sealing fully, or debris or a damaged seal may be preventing closure. Do not reconnect the hose until the cause is corrected. |
| Check for seepage |
Observe the outlet and nearby fittings for several minutes. Use a dry paper towel around accessible joints to help reveal small drips. |
The outlet, valve body, and joints remain dry, with no drops forming. |
Identify where the moisture starts. A leak at a joint may need a connection repair; leakage through the closed valve may require cleaning or valve service. |
| Confirm the repair |
After correcting the issue, repeat the controlled-water test with the valve closed and the catch pan in place. |
The test area stays dry throughout the observation period. |
If leakage continues, stop testing and have the valve or tank outlet inspected before reconnecting the sewer hose. |